
Yes, you can install laminate flooring over tiles with proper preparation and consideration. Firstly, ensure the tile surface is level, smooth, and clean. Use a moisture barrier to protect the laminate from moisture. If the tiles have deep grout lines or are uneven, leveling the surface with a self-leveling compound can create a smoother base for the laminate. Be mindful of the height increase and leave expansion gaps for natural movement.
Installing laminate flooring over tiles has several pros and cons.
Pros
- Cost-Effective: Laminate flooring is often cheaper than other flooring options, making it a cost-effective choice for renovating over existing tiles.
- Ease of Installation: Laminate flooring is relatively easy to install, especially for those with DIY experience. It typically clicks and locks together, requiring minimal tools and time.
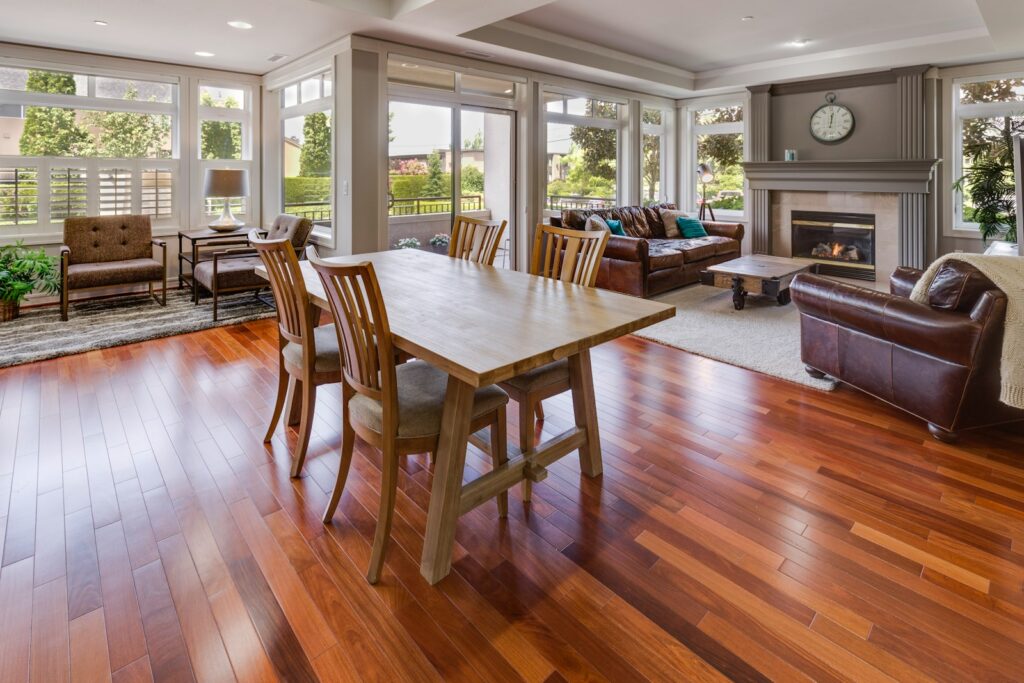
- Aesthetic Appeal: Laminate flooring comes in a wide range of designs and finishes, allowing you to achieve the look of hardwood, tile, or stone without the high cost.
- Durability: Laminate flooring is scratch-resistant, fade-resistant, and generally more durable than hardwood or carpet, making it a suitable option for high-traffic areas.
Cons
- Height Increase: Adding laminate flooring over tiles will raise the floor level, which can create issues with transitions to other rooms, doors, or appliances.
- Uneven Surface: If the tiles are not level or have significant imperfections, it may affect the installation and appearance of the laminate flooring.
- Moisture Concerns: While laminate flooring is relatively resistant to moisture, it’s still important to address any existing moisture issues with the tile floor and install a moisture barrier to prevent damage to the laminate.
- Limited Lifespan: While laminate flooring is durable, it may not last as long as other flooring options such as hardwood or tile. Depending on the quality of the laminate and the level of foot traffic, it may need to be replaced sooner.
To install laminate flooring over tile, you’ll need the following tools and materials.
Tools
- Measuring Tape: For measuring the dimensions of the room and determining the amount of laminate flooring needed.
- Utility Knife: For cutting the underlayment and laminate planks to size.
- Pry Bar: To remove any existing baseboards or trim along the walls.
- Rubber Mallet: For gently tapping the laminate planks into place during installation.
- Pull Bar: To help lock the last row of laminate planks into place against the wall.
- Jigsaw or Handsaw: For cutting laminate planks to fit around door jambs, vents, or other obstacles.
- Tapping Block: To protect the edges of the laminate planks while tapping them into place.
- Spacers: To maintain the recommended expansion gap along the walls and around obstacles.
- Level: To ensure the tile surface is flat and even before installing the underlayment.
- Safety Gear: Including gloves and eye protection when cutting materials.
- Trowel (for leveling compound if needed) or Jamb saw or oscillating multi-tool
Materials
- Laminate Flooring: Choose high-quality laminate flooring that is suitable for installation over tile. Consider the color, finish, and thickness of the laminate planks based on your preferences and the requirements of the room.
- Underlayment or Moisture Barrier: A foam underlayment or moisture barrier to lay over the tile surface before installing the laminate flooring. This helps protect the laminate from moisture and provides additional cushioning and sound insulation.
- Transition Strips: If the laminate flooring will meet other types of flooring, such as carpet or tile, transition strips are needed to create a smooth transition between the different surfaces.
- Baseboards or Quarter-Round Molding: To cover the expansion gap along the walls after the laminate flooring is installed.
- Adhesive (optional): Depending on the manufacturer’s recommendations and the condition of the tile surface, you may need adhesive to secure the underlayment or moisture barrier to the tile floor.
- Cleaning Supplies: To clean the tile surface before installation and to clean the laminate flooring after installation.
- Floor Repair Materials: Such as filler for cracks or leveling compound for uneven areas, if needed.
Installing Laminate Flooring Over Tiles
To install laminate flooring over tile, follow these general steps:
- Prepare the Tile Surface
- Ensure the tile surface is clean, dry, and free of any debris or loose tiles.
- Repair any cracks or damage to the tiles, and level any uneven areas using a self-leveling compound if necessary.
- If the tiles have deep grout lines, consider filling them in to create a smoother surface.
- Undercut Door Frames
- Place a piece of underlayment and laminate against the door frame to determine the height that needs to be cut.
- Use a jamb saw or oscillating multi-tool to undercut the door frames and casings so the laminate can slide underneath.
- Install a Moisture Barrier
- Lay down a moisture barrier or underlayment over the tile floor to protect the laminate from moisture. This helps prevent damage and prolongs the life of the laminate flooring.
- Plan the Layout
- Measure the room to determine the amount of laminate flooring needed.
- Plan the layout of the laminate planks, ensuring they are installed perpendicular to the direction of the floor joists for stability.
- Start Installation
- Begin in a corner of the room and work your way towards the opposite wall.
- Install the first row of laminate planks, leaving an expansion gap of around 1/4 inch along the walls.
- Use spacers to maintain the expansion gap, and cut the planks as needed to fit the space using a saw.
- Continue Installation
- Click the subsequent rows of laminate planks together, ensuring they are snugly connected.
- Stagger the end joints of the planks to create a more natural look and increase stability.
- Use a tapping block and a rubber mallet to gently tap the planks into place if necessary.
- Cutting Around Obstacles
- Measure and cut the laminate planks to fit around door jambs, vents, or other obstacles using a jigsaw or handsaw.
- Leave expansion gaps around these obstacles and cover them with trim or molding later.
- Finish the Installation
- Once the laminate flooring is installed, remove the spacers and install baseboards or quarter-round molding to cover the expansion gap along the walls.
- Install transition strips where the laminate meets other types of flooring, such as carpet or tile.
- Clean the laminate flooring thoroughly to remove any dust or debris.
- Allow for Acclimatization
- Let the laminate flooring acclimate to the room’s temperature and humidity for at least 48 hours before installation to prevent expansion or contraction issues.
Considerations
Doorways
Use a jamb saw or an oscillating multi-tool to undercut door frames and casings. This allows the laminate to slide underneath, creating a seamless look. Place a piece of underlayment and a piece of laminate against the frame to determine the correct height for cutting.
In doorways where the laminate meets another type of flooring, use a transition molding. These are designed to bridge the height difference and provide a clean finish. Common types include T-moldings (for similar height floors), reducers (for stepping down to a lower floor), and end caps (for terminating the laminate at doorways).
Height Increase
The increased height from the tile, underlayment, and laminate may cause doors to drag on the new floor. Remove the doors and trim the bottom using a circular saw or a hand plane to ensure proper clearance.
For exterior doors or areas where a threshold is present, you might need to replace or modify the threshold to accommodate the new floor height. Ensure it is weather-tight if it’s an exterior door.
Height Difference with Adjacent Floors
Use appropriate transition strips to manage height differences between the new laminate floor and adjacent flooring types. Select strips that match the laminate and provide a smooth transition.
For significant height differences, a ramp transition might be necessary. These are typically available where flooring materials are sold and can be customized to fit the height differential.
Baseboards and Trim
If the height increase is significant, it might be necessary to remove the baseboards and reinstall them at the new height. This ensures a neat finish and covers the expansion gap.
If removing baseboards is not feasible, you can add quarter round or shoe molding to cover the expansion gap and provide a finished look.


