

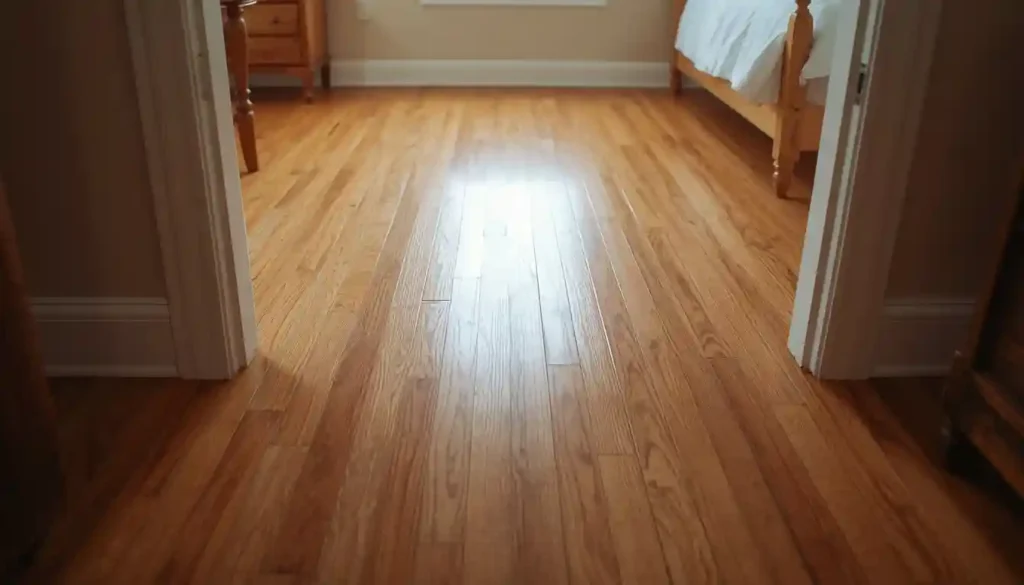
For rooms where you want the look of real hardwood without compromising the rest of your renovation budget, red oak is the species that consistently delivers the best balance of cost, durability, and visual warmth.
2. Go With Cabin Grade or #2 Common Hardwood to Cut Material Costs in Half
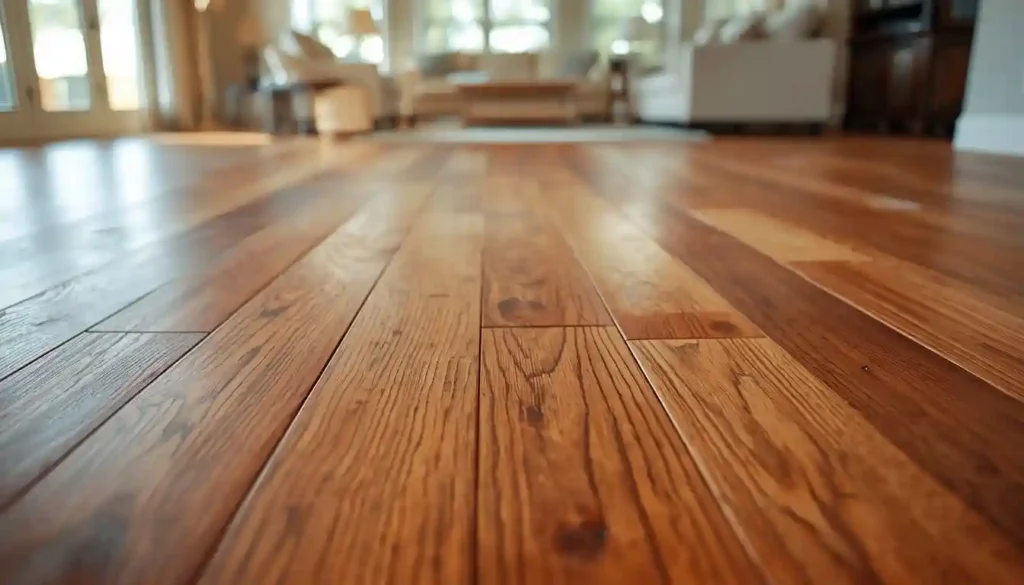
Most people shop for hardwood flooring without knowing that the industry grades lumber, and that the lower grades are sold at significantly reduced prices. Clear or Select grade hardwood — the flooring you typically see in showrooms — is priced at a premium specifically because it has been sorted to remove boards with knots, mineral staining, color variation, or grain irregularity. Cabin grade (also called Tavern Grade, #2 Common, or Blue Label) is exactly the same species, milled to the same dimensions, but includes those “imperfections” that didn’t make the cut for higher grades.
Here’s what makes this interesting: those imperfections — knots, swirling grain patterns, variation in color between boards, the occasional small mineral streak — are precisely what people spend extra money chasing when they buy reclaimed wood. Cabin grade gives you that character-rich, lived-in aesthetic at roughly half the price of select-grade material. A floor laid with cabin grade red oak or hickory will look immediately more interesting and less generic than a uniform, perfectly matched floor from a higher grade tier.
The trade-off is that cabin grade boards can vary more in length and require more careful layout during installation to distribute the shorter pieces evenly. Plan for slightly more waste in your measurements — budget around 12 to 15 percent extra rather than the standard 10 percent — and the result is a floor with genuine character that didn’t require reclaimed wood prices to achieve.

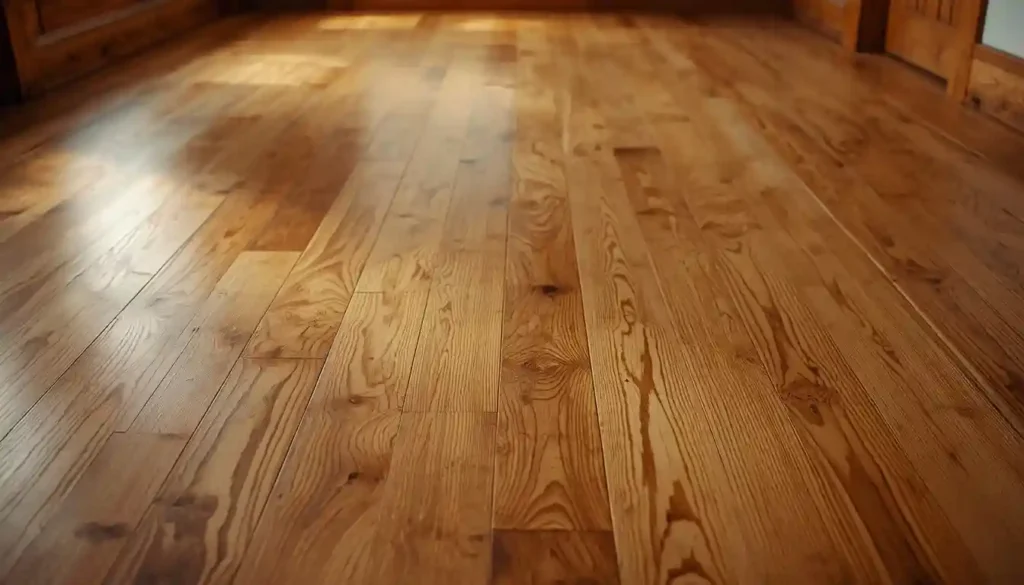
3. Choose Engineered Hardwood for a Real-Wood Floor at a Lower Entry Price
Engineered hardwood is not a compromise — it is a genuinely different product that solves real problems with solid hardwood while costing less in both materials and installation. The construction consists of a real hardwood veneer on top, bonded to layers of plywood or high-density fiberboard beneath. The veneer is actual wood — the same species, the same grain, the same visual character you’d get from solid planks — but the multi-layer core gives the floor dimensional stability that solid wood simply cannot match.
That stability matters for two budget-related reasons. First, engineered hardwood can be installed directly over concrete slabs and in below-grade spaces like basements, where solid hardwood is problematic or prohibited. This expands where you can install it without expensive subfloor modifications. Second, it can be floated rather than nailed or stapled down, which is faster and less labor-intensive — an important factor if you’re managing installation costs.
Entry-level engineered hardwood in common domestic species like oak, hickory, or maple is available in the $2 to $4 per square foot range, making it one of the most accessible ways to get a real wood floor under your feet. The veneer layer is thin on budget-tier products, which limits how many times the floor can be refinished compared to solid hardwood, but for a first home, a rental property, or any room that doesn’t face extreme wear, it performs beautifully at a price that’s hard to argue with.
If you’re weighing engineered options against solid wood for a specific room, this comparison of engineered and solid hardwood covers the performance differences in detail so you can make the right call for your space.
4. Install Prefinished Hardwood to Eliminate On-Site Finishing Costs
There are two ways hardwood flooring reaches its final appearance: it can arrive unfinished and be sanded, stained, and sealed after installation, or it can arrive prefinished with the stain and topcoat already applied at the factory. For budget-conscious projects, prefinished hardwood has a clear advantage: it eliminates the cost of on-site finishing labor, which typically adds $2 to $7 per square foot to a project.
Beyond cost, prefinished hardwood is faster to install and ready to use immediately. There’s no waiting for finish coats to cure, no fumes in the house for several days, and no risk of dust from sanding settling on wet finish. Factory finishing also applies harder, more consistent coatings than most site finishing — the equipment and controlled conditions used in manufacturing produce durability that’s difficult to replicate in the field.
The trade-off with prefinished boards is the micro-bevel — a small chamfered edge between planks that creates a subtle groove at each seam. This means the floor doesn’t have the completely seamless, flat surface you can achieve with site-finished hardwood. For many homeowners, that difference is negligible in daily life. If you’re comparing the cost of prefinished versus site-finished installation for a whole house, choosing prefinished can represent savings of several thousand dollars without any visible reduction in quality from normal viewing distance.
5. Use Narrower Strip Flooring for More Coverage Per Box
Plank width directly affects both material cost and how much coverage you get from each box of flooring. Wider planks — anything 5 inches and above — cost more per square foot than traditional strip flooring in the 2.25- to 3-inch range. The price premium for wide plank hardwood can be 15 to 30 percent above standard widths, which adds up quickly in larger rooms.
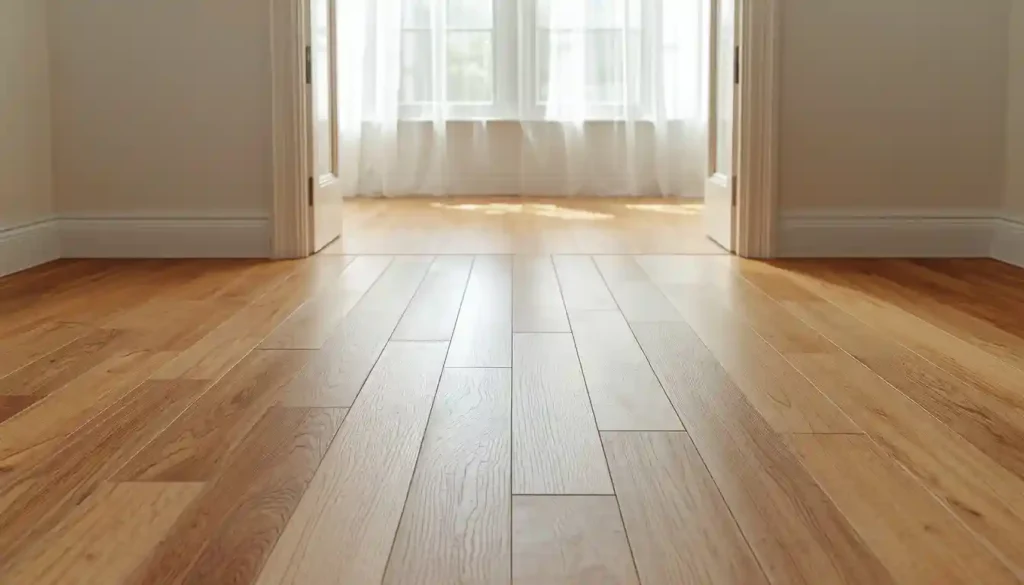
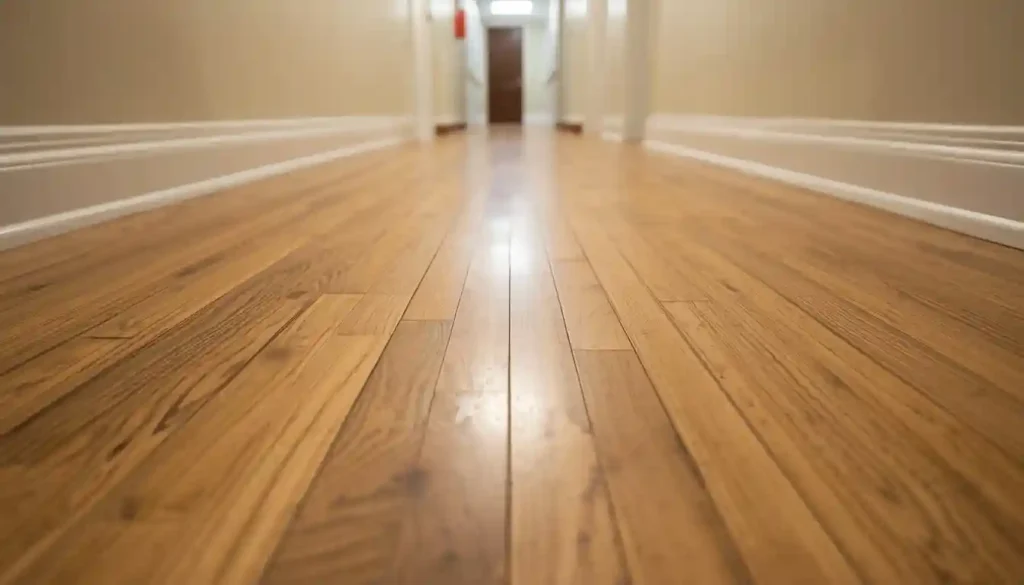
Narrow strip flooring, on the other hand, is typically the most affordable hardwood option in any given species and grade combination. It’s also traditional — the 2.25-inch strip is the most historically common hardwood flooring format in American homes, which is exactly why it’s the most widely available and the most competitively priced.
Strip flooring also has a practical visual benefit in smaller rooms: it makes the space feel larger. Because your eye follows the individual boards, narrower planks create more visual lines across the floor, which gives rooms an elongated, more expansive appearance. In bedrooms, hallways, or compact living areas, strip flooring is both the most economical and often the most spatially appropriate choice.
If you’re working with a tight per-square-foot budget and want to stretch your material dollars as far as possible without moving away from solid hardwood, 2.25-inch or 3-inch strip flooring in red oak or maple will consistently give you the most floor for the least money.
6. Refinish Existing Hardwood Instead of Replacing It
If you already have hardwood floors buried under carpet or showing years of wear, refinishing them is almost always the most cost-effective path to beautiful hardwood floors in your home. Refinishing typically costs between $3 and $5 per square foot for sanding and a clear topcoat, or $5 to $8 per square foot if you add custom staining. Compare that to the $8 to $18 per square foot you’d spend to buy and install new hardwood, and the math is straightforward: refinishing costs roughly a third of replacement.
Older homes in particular often have solid hardwood floors with plank thicknesses of 3/4 inch or more — boards that can be sanded and refinished multiple times over their lifespan. Each refinishing cycle removes only a small amount of wood from the surface, so a well-maintained hardwood floor from a 1950s or 1960s home may still have two or three refinishing cycles remaining. Pulling up carpet to find those original boards is one of the best-case scenarios in any home renovation.
Even floors that look severely damaged — with pet stains, deep scratches, or uneven boards — can often be restored rather than replaced. The key is having a flooring contractor assess the actual thickness and condition of the wood before you decide. Surface damage that looks severe can often be addressed without a full sand-and-refinish, and a full refinish can transform even badly worn boards into floors that look genuinely new.
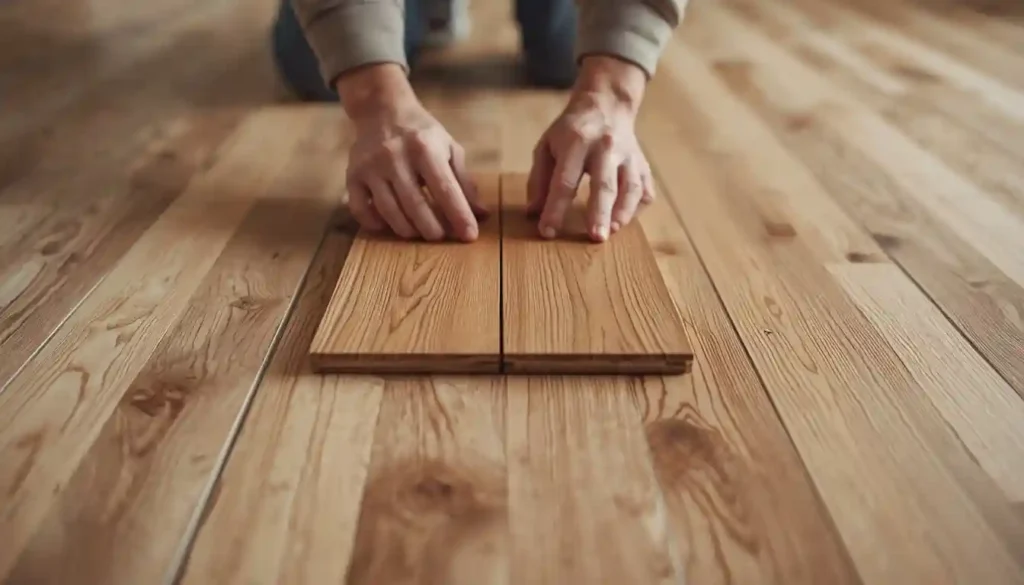
7. Lay Your Own Floor With a Floating Installation Method
Labor is typically the largest single line item in a hardwood flooring project, often representing 50 to 70 percent of the total cost. If you reduce or eliminate that cost by installing the floor yourself, you can apply that budget directly to better materials, or simply spend significantly less overall. The question is which installation method is realistic for a DIY approach.
Floating installation — where planks click or glue together without being fastened to the subfloor — is the most accessible method for homeowners without flooring installation experience. It requires fewer specialized tools than nail-down installation, no subfloor penetration, and is more forgiving of minor subfloor imperfections. Engineered hardwood with a click-lock profile is the most common product used for floating installations, and many manufacturers design their products specifically for DIY installation.
The floor preparation work — cleaning, leveling, and moisture-testing the subfloor — matters more in a floating installation than in nail-down, because a floating floor relies on a flat, stable surface beneath it. Take time to prepare the subfloor correctly before installation begins, and the actual laying process is manageable over a weekend for a single room or two. For a 200 square foot bedroom, eliminating professional labor by doing a floating installation yourself could save $600 to $1,200 or more.
8. Opt for Pine Flooring for a Genuinely Low-Cost Solid Wood Floor
Pine is classified as a softwood rather than a hardwood, but it is real solid wood, and it produces floors with a warmth and visual character that are impossible to replicate with any engineered or composite product. Eastern white pine, yellow pine, and heart pine have been used as flooring for centuries — many historic homes have original pine floors that are still in daily use after 150 years of foot traffic.
The cost advantage is significant. Pine typically comes in at $1 to $5 per square foot for materials, making it one of the most affordable genuine wood flooring options available. Heart pine, which is denser and more durable than other pine varieties because it comes from the slow-grown core of old trees, falls on the higher end of that range but still undercuts most hardwood species on price.
The trade-off is softness. Pine dents and scratches more readily than oak, maple, or hickory, which is why it fell out of fashion in high-traffic areas as harder species became more available. But for bedrooms, home offices, or spaces with moderate foot traffic, that softness isn’t a dealbreaker — and for homeowners who appreciate the authentic, lived-in character of a floor that shows its history, the dents and patina that accumulate on pine over time become part of its appeal rather than a flaw.
Pine also takes stain and finish well, and because it’s a solid wood, it can be refinished repeatedly to restore its surface. If you want a genuine wood floor that costs less than almost any hardwood alternative, pine is worth a serious look for the right rooms in your home.
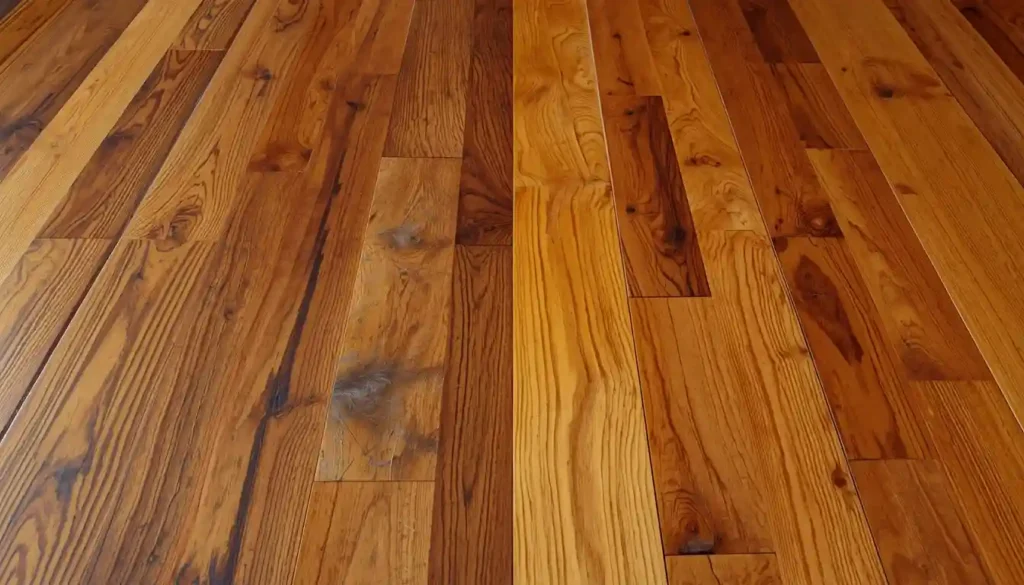
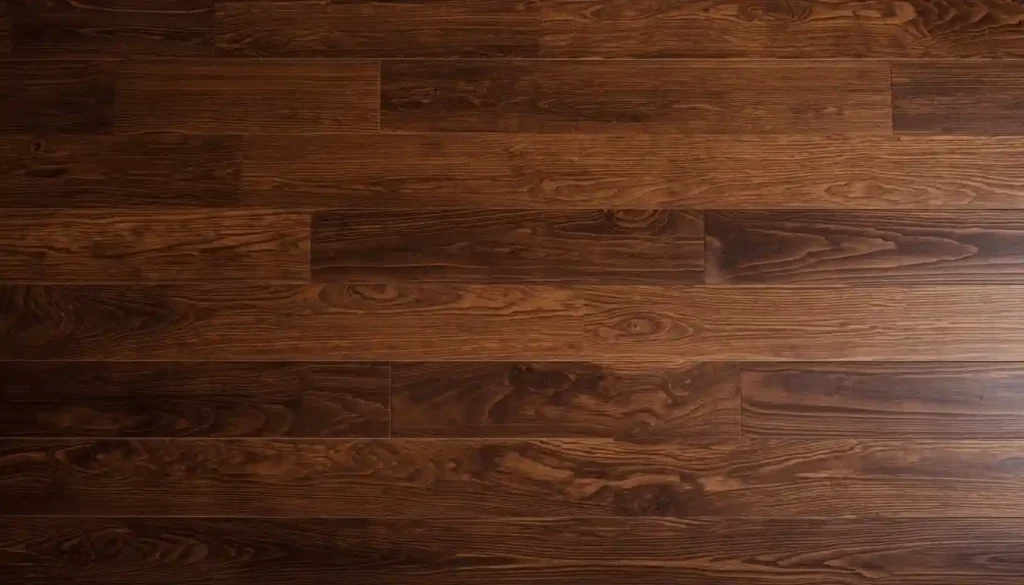
9. Use a Bold Stain to Make Affordable Wood Look Like a Premium Species
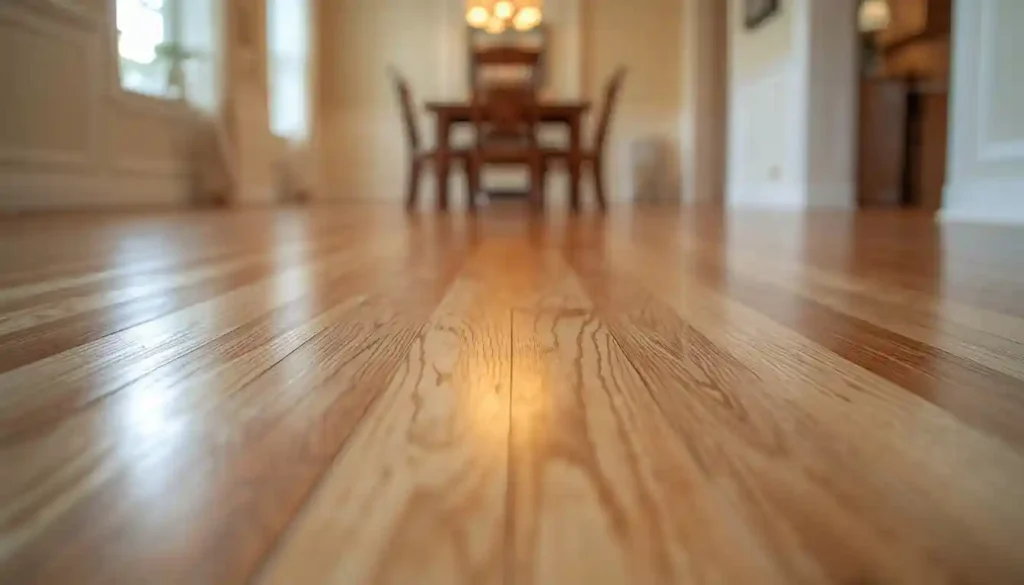
The species of hardwood you’re standing on and the color you perceive when you look down are two different things. A dark ebony stain applied to red oak produces a floor that visually resembles walnut or wenge — both of which cost significantly more per square foot than oak. A cool gray stain on maple or ash reads as a modern, Scandinavian-style floor that would fit a high-end renovation without the high-end material budget. A whitewash or white-pickling technique on oak gives the appearance of expensive bleached European hardwoods.
Staining is one of the most cost-effective ways to close the visual gap between what affordable hardwood looks like and what premium hardwood costs. The species underneath does affect how it accepts stain — red oak’s open grain drinks stain readily and can produce deep, rich color; maple’s tight grain can blotch without proper conditioning — but the results from a well-executed stain job on an affordable species can be genuinely impressive.
If you’re using prefinished hardwood, you won’t have this option directly, but some manufacturers offer prefinished boards in a wide range of stained colors at the same price point. If you’re having site-finished hardwood installed, work with your installer to test stain samples on actual boards from your delivery before committing to a color — the result on a sample board will always be more reliable than a color swatch in a showroom brochure.
A deep charcoal or espresso stain on red oak, a warm gray on white oak, or a classic medium-brown on pine can each take a budget-tier wood and make it the best-looking feature in the room.
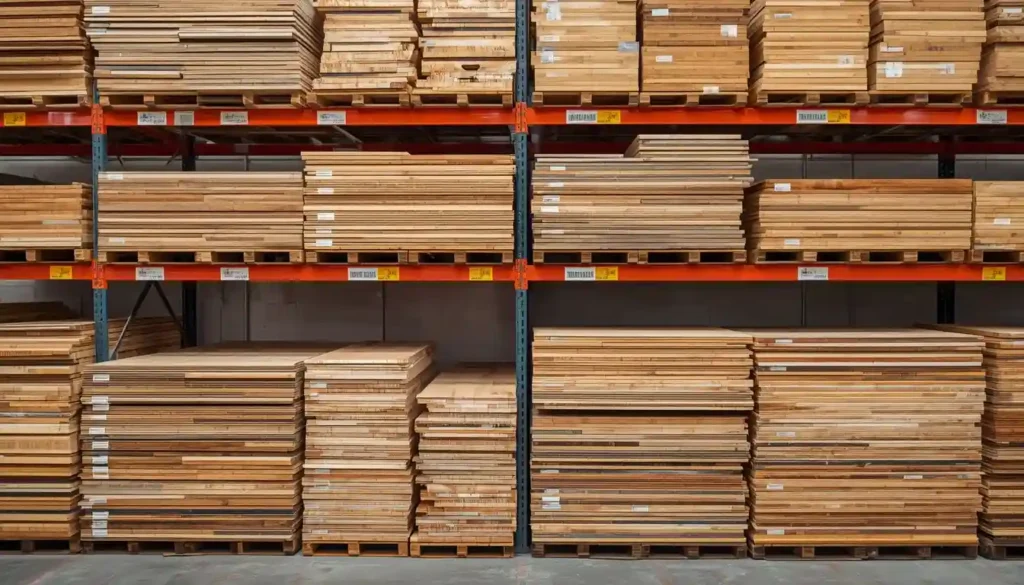
10. Source Leftover Inventory, Discontinued Lines, and Overstock for Deep Discounts
Flooring retailers regularly sell off overstock, discontinued product lines, and partial pallets at significant discounts — sometimes 30 to 60 percent below retail. These products are not defective. They’re simply excess inventory that the store needs to move to free up warehouse space or because the manufacturer has updated its product line. For a homeowner installing flooring in one or two rooms, a partial pallet that would never be enough to floor an entire showroom floor can be more than sufficient.
The strategy for finding these deals requires some flexibility. You’ll need to be willing to work with whatever species, color, and finish is available rather than starting with a specific product in mind. But if your priority is getting real hardwood at a low price, this approach can deliver results that aren’t available any other way. Flooring liquidators, clearance sections at home improvement stores, and online marketplaces where contractors sell unused project materials are all productive places to search.
There are a few things to verify before buying discounted flooring: confirm the total square footage available is enough for your project with some waste factored in (running out of a discontinued line mid-project is a serious problem), check that all boxes are from the same dye lot to avoid visible color variation between planks, and inspect a sample board for any finish defects. If all of that checks out, buying clearance hardwood flooring is one of the most reliable ways to get a premium product at a budget price.
11. Install Hardwood in One Room at a Time to Spread the Cost Without Sacrificing Quality
One of the most practical budget strategies for hardwood flooring is also one of the least discussed: you don’t have to do the whole house at once. There’s no rule that every room needs to be floored simultaneously, and phasing your project over months or years allows you to install the highest quality hardwood your budget allows in each room, rather than compromising on material or finish across the entire home to afford everything at once.
Start with the room where the floor will have the most visual impact — often the living room, the main hallway, or the primary bedroom — and use that project to learn what the installation process involves, establish a relationship with a flooring contractor you trust, and experience how the finished floor performs before committing to the rest of the house. Each subsequent room benefits from what you learned in the last one.
The practical consideration when phasing a hardwood installation is consistency. If you plan to eventually connect multiple rooms with hardwood, try to buy all the material for the eventual full project at once (storing unused boxes in climate-controlled conditions), because dye lots change over time and matching a floor you installed two years ago can be difficult. If that’s not financially feasible, choose a widely available, consistently produced species and finish — natural red oak in a standard width is the safest bet for matching future purchases — and document the manufacturer, product line, and finish code for every box you install.
For a single bedroom or a compact living room, a full hardwood installation is a project that can come in under $1,500 in materials when you’re using the strategies from this list. Over two or three phases, that makes whole-house hardwood genuinely achievable on almost any home improvement budget. To get a full picture of what costs look like for a typical project, reviewing a detailed breakdown of hardwood installation costs can help you set realistic targets before you start shopping.
How to Decide Which Budget Strategy Is Right for You
Most successful budget hardwood projects combine two or three of these ideas rather than relying on a single approach. Someone who chooses red oak (idea one), opts for cabin grade (idea two), and sources prefinished boards (idea four) is working three independent levers simultaneously — and the cumulative effect on total project cost can be dramatic.
The starting point is always your subfloor. If you’re installing over concrete, engineered hardwood or floating installation are non-negotiable, which immediately narrows your options in a productive direction. If you have an existing wood subfloor in good condition, you have the full range available to you. If you already have hardwood that’s worn but structurally sound, refinishing beats replacement in almost every scenario.
Once you know what the subfloor allows, work backward from your per-square-foot budget to identify which species and grade combinations fit. Understanding the full cost breakdown — materials, labor, subfloor prep, and finishing — before you start comparing products will save you from making purchasing decisions based on material price alone, only to discover that installation costs push the project over budget.
The 11 ideas in this list are each independently effective, and they stack. A homeowner who uses three or four of them together can realistically install genuine hardwood — real wood, real durability, real long-term value — at a price that competes with engineered alternatives or even high-quality laminate. The material is more accessible than most people assume. It starts with knowing which levers to pull.
For anyone in the San Diego area considering a hardwood installation project, our hardwood flooring services cover the full range of species, grades, and installation methods discussed here — including help sourcing the most cost-effective option for your specific room and subfloor conditions.


