

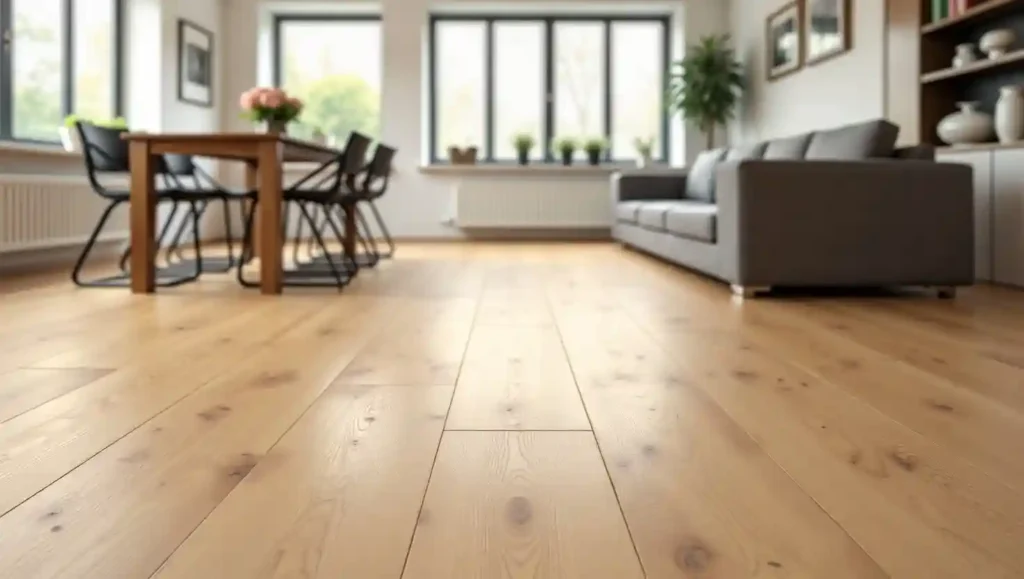
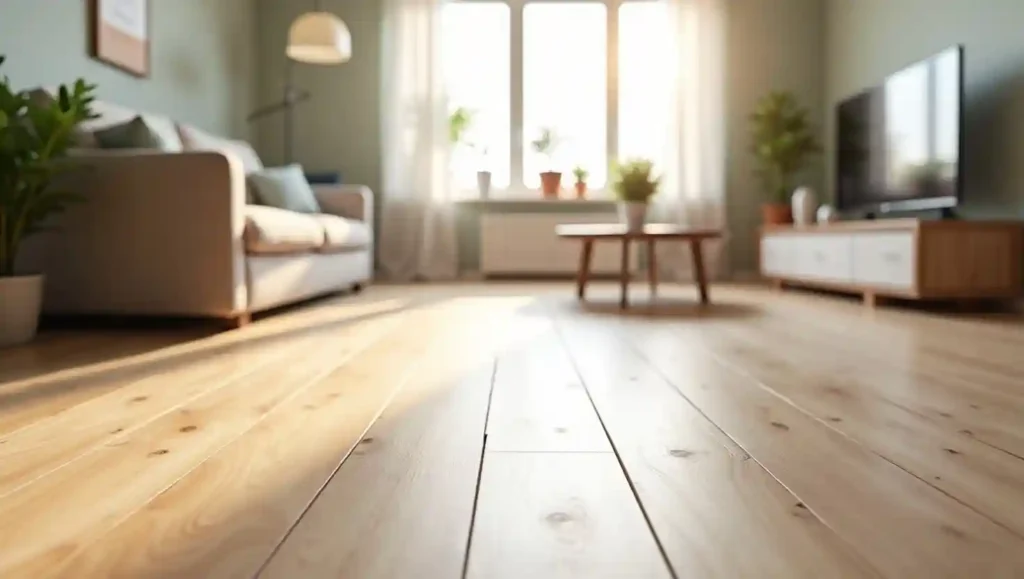
Idea 1: Light Natural Oak in a Living Room
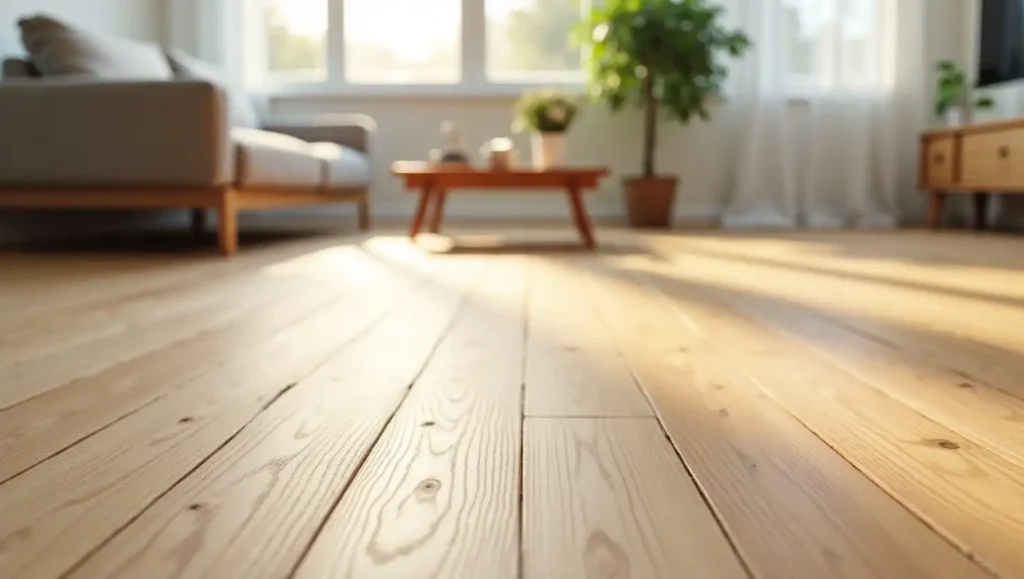
A light natural oak laminate is probably the single highest-return idea on this entire list. The tone sits in that warm honey-to-pale-biscuit range that works with almost every wall color and furniture finish on the market. It reflects light, which makes rooms feel larger, and it reads as timeless rather than trendy, which means you will not be ripping it out in five years when a specific look dates itself.
Budget oak laminates in this color family have improved dramatically. The photographic layer on modern products captures the subtle variation between heartwood and sapwood, the knot placement, and the medullary ray fleck that makes real oak look like real oak. When you pair this floor with soft white walls, natural fiber rugs, and furniture in warm neutrals or deep navy, the result looks significantly more expensive than it cost to achieve.
For living rooms specifically, lay the planks parallel to the longest wall and parallel to the main light source if possible. This makes the room feel longer and highlights the grain texture naturally. If your living room flows into a dining area or open kitchen, continuing the same laminate through both spaces without a transition strip creates a seamless look that reads as more intentional and higher-end. Our post on laminate flooring in the living room covers layout planning and furniture placement in much more detail.
Idea 2: Grey Washed Wood Look for a Modern Aesthetic
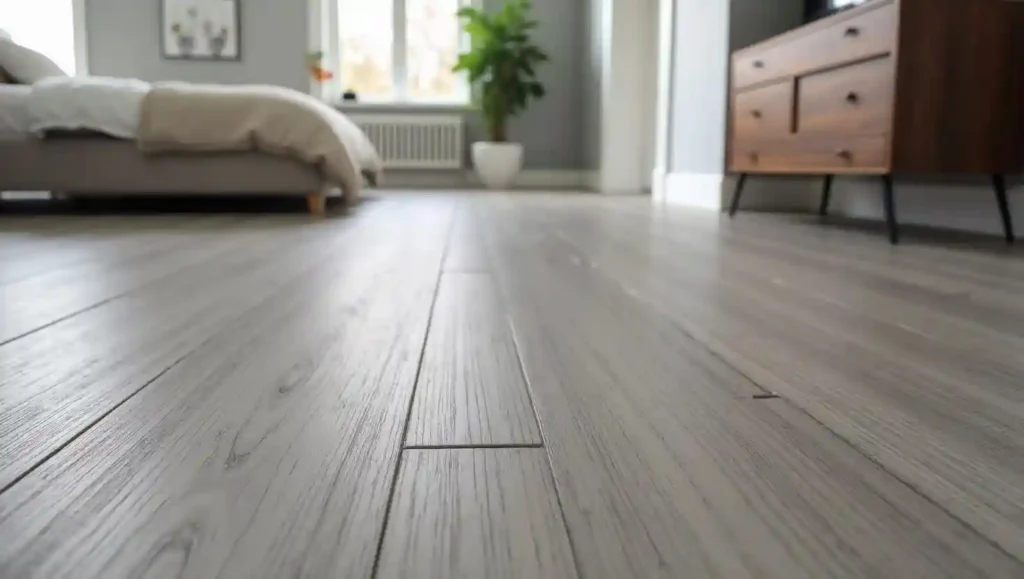
Grey laminate flooring became enormously popular for good reason. It works as a neutral that leans cool rather than warm, which makes it exceptionally easy to pair with white, charcoal, sage green, and navy. The grey-washed wood look, specifically a mid-toned grey with visible but subtle grain, photographs beautifully and consistently performs well on Pinterest and interior design boards.
At the budget price point, grey laminates have a minor risk: some cheaper products have an obviously artificial, flat grey tone that reads as plastic rather than wood. The fix is to look for products described as grey-brown or greige rather than pure grey. These have just enough warm undertone to prevent the artificial look while still reading as a grey floor in the finished room. A slight visible grain line and a matte or satin finish are also important at this color range.
Grey laminate works particularly well in bedrooms and home offices. It creates a calm, restful quality underfoot and pairs beautifully with both cool-toned and warm-toned furniture. In smaller rooms, a lighter grey keeps the space feeling open. In larger rooms with high ceilings, a medium or dark grey creates a grounded, sophisticated feel. If you are planning a grey floor and wondering how different finishes will read in your specific space, our comparison of high-gloss versus matte laminate finishes is worth reading before you order samples.
Idea 3: Budget Herringbone Laminate for a High-End Pattern
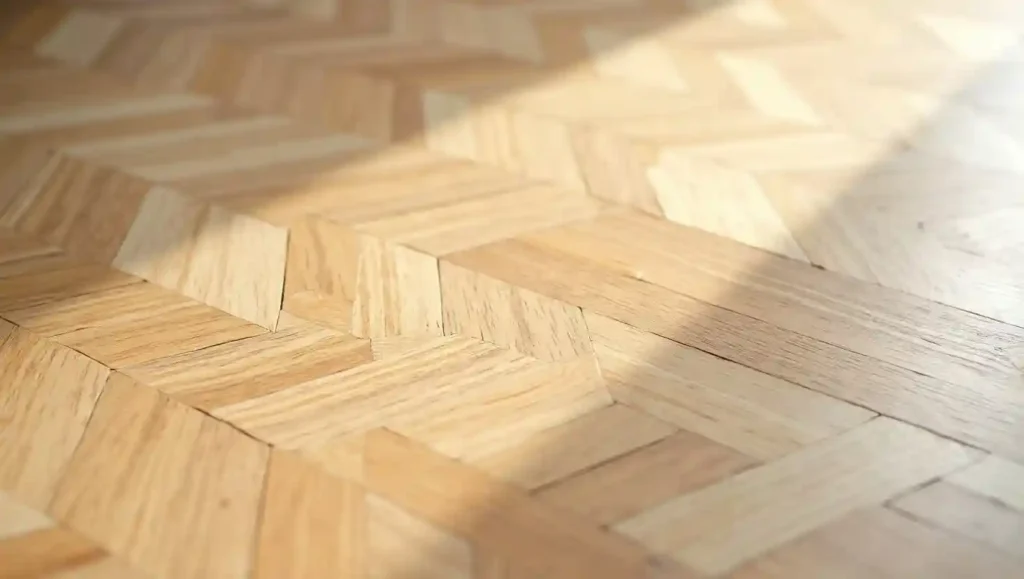
Herringbone is one of those patterns that seems like it should cost a fortune, and in solid hardwood or stone tile, it does. In laminate, particularly budget laminate, it is genuinely achievable because the pattern is created during installation rather than by the material itself. Standard rectangular planks can be cut and laid at 45-degree angles to create a classic herringbone, though purpose-cut herringbone laminate packs are also available and eliminate the need for precision angle cuts.
The visual impact of a herringbone pattern on a budget floor is significant. The diagonal arrangement creates movement and complexity that makes any room feel more designed, and it draws attention to the floor itself as a deliberate feature rather than just a background surface. Light-toned herringbone patterns in blonde oak or whitewashed wood tones are especially popular for small entryways and kitchens because the diagonal lines create a sense of expansiveness.
There are a few important practical considerations. Herringbone installation uses more material than a standard staggered layout because of the additional cuts involved, so you should add at least 15 percent to your square footage estimate rather than the standard 10 percent. The cutting itself takes longer, which adds to labor costs if you are hiring a professional. Even so, the total cost remains well within budget territory, and the result looks dramatically more expensive than the floor itself. Herringbone patterns work especially well in square or near-square rooms where the diagonal runs balance naturally. If you want to explore the full range of what this pattern can do, our detailed post on 15 herringbone laminate flooring ideas shows a wide range of room applications.
Idea 4: Wide Plank Dark Laminate for Drama on a Budget
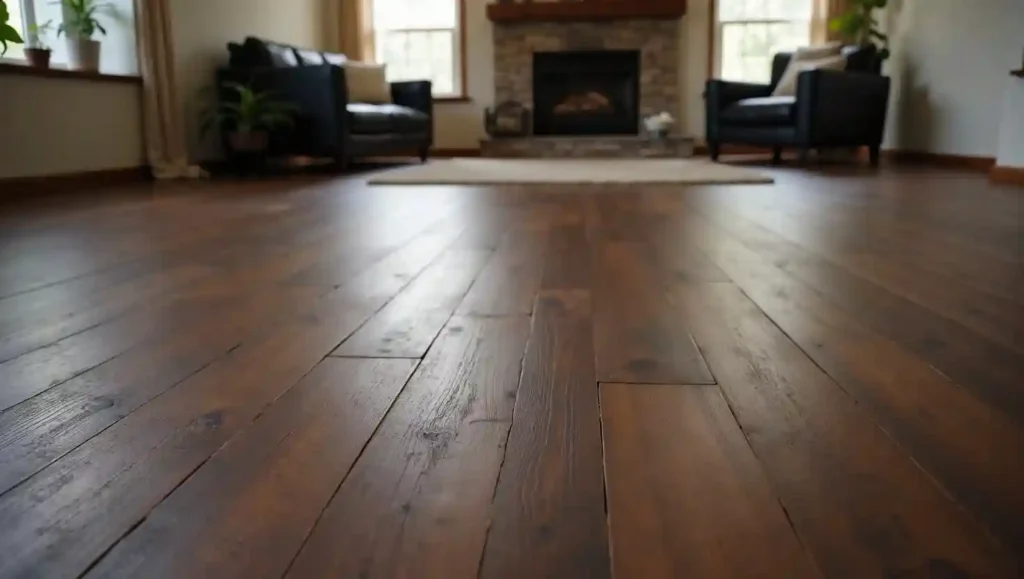
Dark floors, specifically rich walnut tones, espresso browns, and warm chocolates, have long been associated with high-end interior design. In traditional hardwood, those species are genuinely expensive. In laminate, a convincing dark wide-plank look is available at a fraction of the cost, and wide planks at 5 inches or wider make the photographic layer work harder because more of each plank is visible, showing the full character of the wood grain.
Dark laminate is particularly effective in spaces that already have good natural light, where the contrast between the floor and bright walls or light furniture creates a dramatic, grounded quality. It is also forgiving of minor imperfections in the subfloor that might read more obviously under a lighter floor. The one genuine caveat with dark laminate at any price point is maintenance visibility: dust, pet hair, and light scratches all show more on a dark surface, so it is worth pairing with a texture finish that diffuses light rather than a high-gloss that reflects every particle.
In terms of room application, dark wide-plank laminate works especially well in living rooms, dining rooms, and home offices. It tends to make bedrooms feel moody and intimate, which can be a positive or a negative depending on your personal preference. If you are considering a dark floor and wondering how it will look specifically in the bedroom context, our collection of 13 dark laminate flooring ideas covers a wide range of design applications including bedroom-specific setups.
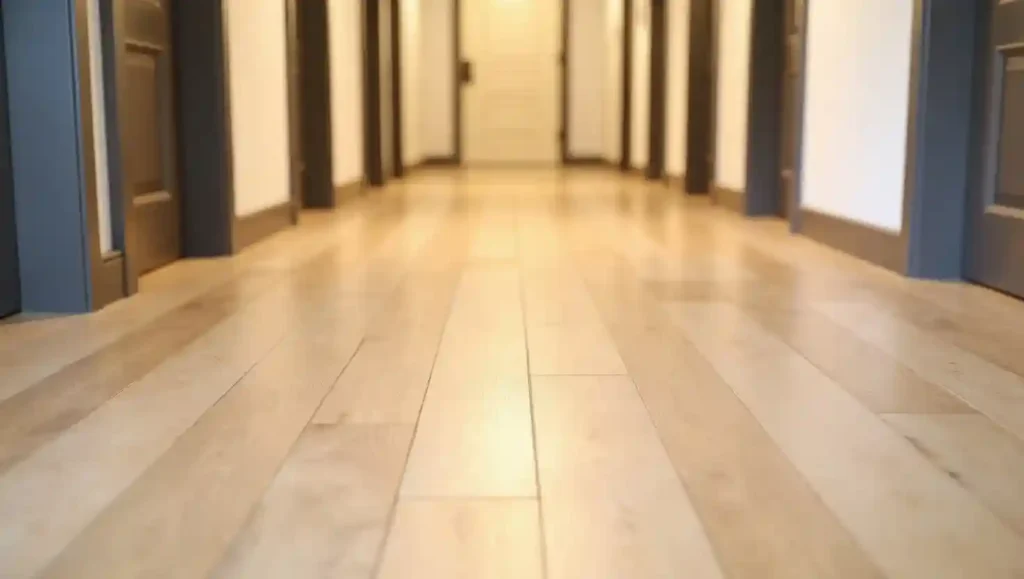
Idea 5: Light Wood Laminate in Small Rooms and Hallways
Small rooms present one of the most common flooring challenges: how do you make a compact space feel larger without tearing down walls? Light-colored laminate flooring is one of the most effective and affordable answers available. Pale blonde tones, whitewashed oak looks, and very light ash-colored laminates all reflect light back into the room, which creates a genuine sense of expanded space without any structural changes.
The effect is particularly strong in hallways, which are among the most visually constrained spaces in any home. A pale laminate running the length of a narrow hallway, installed parallel to the long axis of the space, creates a visual runway effect that makes the corridor feel longer and airier. In small bedrooms, light laminate combined with light walls and minimal visual clutter creates a room that reads as peaceful and spacious rather than cramped.
Budget light wood laminates are available in an impressive range of finishes, from the almost-white Scandinavian ash look to the warm golden tones of natural pine. For small spaces, avoid products with very high gloss since the reflective surface amplifies rather than reduces the sense of visual busyness. A satin finish strikes the right balance between light reflection and visual calm. You can explore a curated range of design ideas built around this color family in our post on 11 light wood laminate flooring ideas.
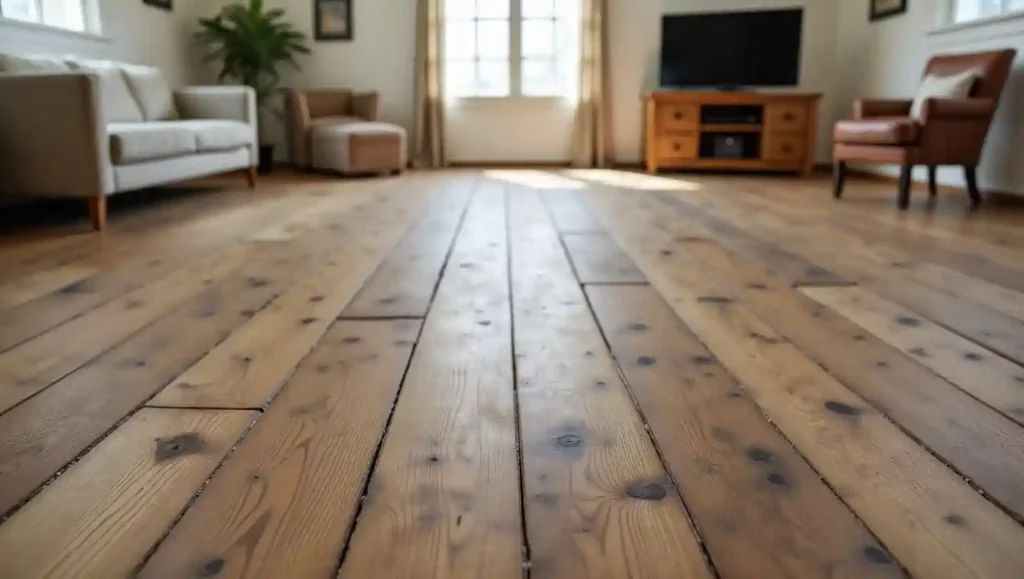
Idea 6: Distressed or Hand-Scraped Look Laminate for Farmhouse Style
The farmhouse and rustic interior design trend has remained consistently strong, and one of its best-kept secrets is how well budget laminate serves this aesthetic. Distressed and hand-scraped laminates are specifically engineered with surface irregularities that mimic the character marks of reclaimed wood, old barns wood, and aged oak. These variations include saw marks, scrapes, small gouges, and color variation across individual planks.
What makes this category particularly smart at the budget price point is that the distressed surface naturally hides minor scratches and everyday wear, which means these floors actually look better over time as new marks blend into the existing character. For homes with kids, dogs, or heavy foot traffic, a distressed laminate is significantly more forgiving than a smooth, uniform finish at any price tier.
Color-wise, the distressed look works best in medium brown and warm grey-brown tones. Very dark distressed laminates can look muddy if the surface character is too busy. Pair distressed laminate with white shiplap walls, open shelving, vintage-inspired hardware, and natural fiber rugs for a cohesive farmhouse result. The floor becomes the room’s anchor rather than just a background surface, which is a lot of visual work for a material that can cost under two dollars per square foot.
One practical note: distressed and hand-scraped textures are more difficult to clean than smooth surfaces because debris can settle into the carved grooves. A damp microfiber mop is the right tool. Avoid string mops or excessive water since standing moisture is always the primary enemy of laminate regardless of price point. For maintenance tips that keep any laminate looking its best over time, our guide on the best cleaning products for laminate floors covers everything you need to know.
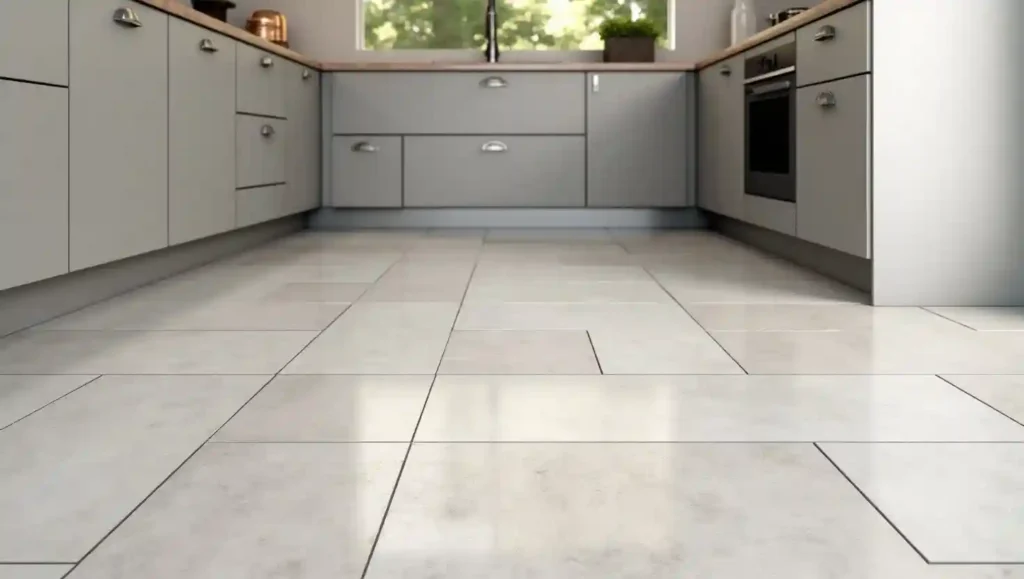
Idea 7: Stone-Look Tile Effect Laminate for Bathrooms and Kitchens
Laminate has traditionally been considered off-limits for wet areas, but that has changed significantly with the development of water-resistant and waterproof laminate products. The stone-look tile effect laminate category is one of the most interesting developments in budget flooring because it combines the affordability and easy installation of laminate with the visual language of natural stone, which has always been associated with premium interiors.
These products use the same layered construction as wood-look laminate but with a photographic layer that replicates concrete, slate, limestone, or marble. The result in a kitchen or bathroom is a floor that has the warmth and acoustic softness of laminate but the visual weight and sophistication of stone. Because the surface is laminate rather than actual stone, it is also significantly warmer underfoot than real tile, which is a comfort consideration that gets overlooked in design discussions.
The critical spec for this application is waterproofing. Standard laminate is not suitable for bathrooms or kitchens where puddles and spills are routine. True waterproof laminate, which uses sealed edge technology and a moisture-resistant core, handles these environments reliably. If you are considering a waterproof laminate and want to understand exactly what that designation covers in practice, our post on whether waterproof laminate needs a moisture barrier answers the most common questions.
Idea 8: Open-Plan Budget Laminate That Flows Through Multiple Rooms
One of the most effective design moves available to homeowners on a budget is using the same laminate consistently across an open-plan living, dining, and kitchen space. The continuous floor creates a visual cohesion that makes the entire area feel larger, more expensive, and more intentionally designed than it would if each zone had a different floor treatment. Because you are buying a higher square footage in one product, you may also qualify for better per-unit pricing from your supplier.
The color selection for a multi-room continuous floor deserves extra care because the floor will be seen from more angles and under more different lighting conditions simultaneously. Medium-toned natural wood looks are the safest choice here because they transition cleanly between the typically brighter kitchen area and the softer light of the living and dining zones. Very light floors can look washed out under bright kitchen task lighting, and very dark floors can look oppressive in smaller connected dining areas.
The direction of the plank installation matters enormously in open-plan applications. Running the planks parallel to the longest wall of the combined space creates a visual flow that draws the eye through the room. If the space has an L-shape or irregular configuration, running the planks toward the main natural light source usually produces the most harmonious result. Our detailed coverage of 13 open-plan laminate flooring ideas explores this specific challenge with a range of layout and color approaches.
Idea 9: Budget Laminate on Stairs for a Cohesive Look
Stairs are often the last place people think of when budgeting for laminate, but they are one of the most impactful visual transitions in a home. When the flooring flows from your main living area directly up the staircase in the same material, the result looks significantly more designed and complete than stairs left in a different finish. Budget laminate is entirely suitable for stairs when the right installation method and stair nosing profiles are used.
The key hardware component is the stair nose, a pre-finished edge strip that covers the front edge of each tread and creates a clean, durable finished look. Matching stair nose profiles are available for most laminate product lines, and they lock in tightly to the plank surface to create both a safe edge and a seamless visual continuation of the floor. The riser, or vertical face of each step, can be finished with the same laminate cut to width or painted to match the wall color for a clean contrast.
One practical consideration for stair laminate is AC rating. Stairs receive more concentrated impact per square foot than any flat floor surface. An AC4 or AC5 rating is strongly recommended for stair treads even if you are using a lighter-rated product on the main floor. The tread area is small enough that the per-square-foot cost difference is minimal, and the improved durability matters significantly on a surface where every step creates wear. For a detailed walkthrough of the process from measuring to final installation, our post on how to install laminate flooring on stairs covers every step.

Idea 10: Budget Laminate in Small Spaces and Studio Apartments
Small spaces are where budget laminate arguably delivers its highest return. In a studio apartment, a small bedroom, or a compact home office, you are dealing with a limited square footage to begin with, which means the total material cost is low even before you start looking for deals. Meanwhile, the visual transformation is proportionally large: replacing worn carpet or scuffed vinyl with clean, wood-look laminate changes the entire character of the space.
For small spaces specifically, the design strategy matters as much as the material choice. Planks should run toward the largest window or the longest wall to maximize the room-elongating effect. Light to medium tones work better than dark floors, which shrink already compact rooms. Minimizing transitions and avoiding breaks in the floor pattern wherever possible creates visual continuity that makes the available space feel larger.
Click-lock laminate installation is particularly well-suited to small spaces because it does not require adhesive and can be installed by a careful homeowner without specialized tools. The floating floor method also means the laminate can be removed and replaced if needed, which matters in rented apartments where the original floor must be restored. Budget click-lock laminate starting around $1.00 to $1.50 per square foot, combined with a modest underlay, makes a studio apartment floor upgrade achievable for a few hundred dollars total in many cases. The ideas and room configurations in our post on 11 laminate flooring ideas for small spaces are specifically tailored to these challenges.
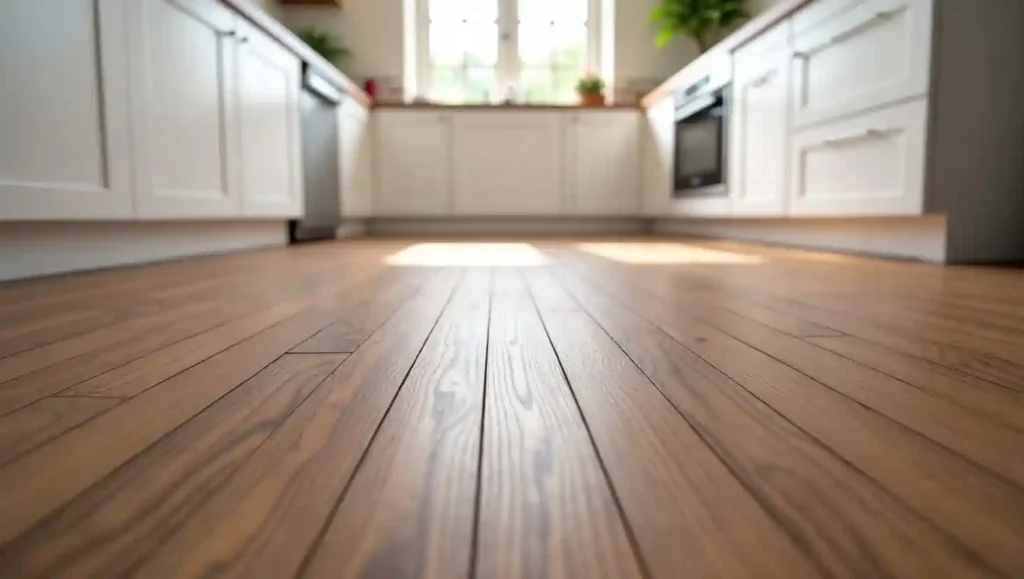
Idea 11: Budget Laminate in the Kitchen With a Bold Color Choice
Kitchens are the room where homeowners most often default to tile or vinyl out of moisture concern, but modern water-resistant and waterproof laminate has genuinely changed that calculus. Using laminate in the kitchen instead of tile eliminates the grout maintenance problem, creates a warmer and more cushioned surface underfoot for long cooking sessions, and opens up a wider range of color and finish options than budget tile typically offers.
The bold color choice angle is what makes this idea particularly exciting. While most kitchens default to light floors that hide nothing and show everything, a medium-dark floor in a warm walnut or rich brown tone in the kitchen creates a grounded, confident feel that contrasts cleanly with white or light grey cabinetry. Alternatively, a very light almost-white or pale grey floor in the kitchen creates a clean, Scandinavian minimalist quality that photographs beautifully. Either direction works as long as the water resistance specification matches the realities of kitchen use.
The practical requirements for kitchen laminate are non-negotiable. The product must be rated as water-resistant at minimum, and a product with sealed edges and a hydrophobic core is preferable. The subfloor must be completely flat, since any low spots become water traps. The expansion gap around the perimeter must be maintained and covered by baseboards or transition strips, not silicone-sealed closed, because laminate still moves with temperature and humidity changes even in its most water-resistant form. For a comprehensive look at which products and specifications perform best in the kitchen environment specifically, our post on the best laminate flooring for kitchens is the right starting point before you make a final decision.
Choosing the Right Underlay to Maximize Your Budget Laminate
Underlay is the component that separates a budget laminate installation that feels genuinely good underfoot from one that feels hollow and cheap. The laminate plank itself determines the look. The underlay determines the sound, the feel, and to a significant degree the longevity. Spending $0.25 to $0.50 extra per square foot on a quality underlay is one of the highest-return investments in any laminate project, including budget ones.
Basic foam underlay provides a moisture barrier and minimal sound dampening. It is the lowest-cost option and works adequately in bedrooms and low-traffic areas above a wood subfloor. For concrete subfloors, a vapor barrier is essential rather than optional, since concrete transmits ground moisture upward. Some underlays combine a foam cushion with an integrated vapor barrier film, which is a practical choice for slab-on-grade installations.
Cork underlay is the premium choice for sound dampening. It compresses under foot traffic but returns to its original thickness, which prevents the hollow clap sound associated with thin foam underlays. Cork is also naturally antimicrobial and slightly better at thermal insulation than foam. For upper-floor rooms or any situation where the floor-impact noise transmitted to the space below matters, cork is worth the additional $0.20 to $0.30 per square foot. If you want to understand how different underlay types interact with specific subfloor conditions, our post on the laminate flooring underlay buying guide covers every option in depth.
Budget Laminate vs. Budget Vinyl: Which Should You Choose
The honest answer is that it depends on the room and your priorities. At comparable price points, budget laminate typically offers a more realistic wood appearance than budget vinyl plank because the photographic layer and embossed texture technology has been refined over more years in the laminate category. If visual realism is your top priority and moisture is not a major concern, laminate usually wins at the budget tier.
Budget vinyl plank, on the other hand, is genuinely waterproof in a way that even water-resistant laminate is not. For bathrooms, laundry rooms, and areas with high moisture exposure, vinyl is more appropriate even at a budget price point. It also handles subfloor imperfections slightly more forgivingly in some cases, though both materials benefit from a level subfloor.
In terms of durability under normal residential use, quality budget laminate with an AC3 or AC4 rating holds up very well. The wear layer on laminate is typically aluminum oxide reinforced, which is genuinely hard and scratch-resistant. Budget vinyl’s wear layer tends to be thinner at comparable price points, which can show fine scratches under certain lighting conditions. For a detailed side-by-side analysis that goes deeper on the durability and longevity differences between the two options, our post comparing laminate versus vinyl plank flooring gives you all the information you need to make the right call for your specific situation.
Installation Tips That Save Money on Any Budget Laminate Project
The single biggest cost lever in any laminate project is whether you install it yourself or hire a professional. Labor typically adds $2.00 to $4.00 per square foot on top of material costs. For a 400-square-foot room, that is $800 to $1,600 in labor alone. Modern click-lock laminate is genuinely DIY-friendly for homeowners who are willing to follow instructions carefully, measure accurately, and take their time on the cuts. You do not need specialized knowledge to float-install laminate, but you do need a few specific tools: a pull bar, a tapping block, a rubber mallet, a circular or jigsaw, and spacers for maintaining the expansion gap.
Acclimation is a step that budget-conscious homeowners sometimes skip to save time, and it is a mistake that costs money rather than saves it. Laminate must be left in the room where it will be installed, in its packaging, for 48 to 72 hours before installation. This allows the planks to adjust to the room’s temperature and humidity before they are locked together. Skipping this step leads to expansion and contraction after installation that causes gaps, buckling, and joint failures, all of which require expensive remediation.
Subfloor preparation is the other area where cutting corners costs money later. The subfloor must be flat to within 3/16 inch over a 10-foot span for most laminate installations. High spots must be sanded or ground down. Low spots must be filled with a floor-leveling compound. Every hour spent preparing the subfloor properly prevents multiple hours of problem-solving after the floor is down. If you are starting from scratch and want a complete walkthrough of the installation process before committing to DIY, our detailed guide on how to install laminate flooring is the right place to begin.
How Long Will a Budget Laminate Floor Actually Last
This is the question that every homeowner with a tight budget needs to ask honestly, and the answer is more positive than many people expect. A properly installed budget laminate with an AC3 or better rating, maintained according to the manufacturer’s guidelines, typically lasts 15 to 25 years in residential applications. Most budget laminate products now carry 25-year or even lifetime residential warranties on the wear layer, which reflects genuine manufacturer confidence in the product’s longevity.
The caveats are real, however. Laminate cannot be sanded and refinished the way solid hardwood can. When it wears out or sustains significant damage, it must be replaced rather than restored. That is a meaningful difference from hardwood, but it is one that the dramatically lower initial cost compensates for many times over. A $1.50 per square foot budget laminate that lasts 20 years and then gets replaced has still cost less over that period than hardwood that gets refinished twice and lasts 40 years.
The factors that most significantly shorten a budget laminate’s life are excess moisture, very heavy abrasive traffic without adequate AC rating, and improper subfloor preparation that creates stress points in the joints. Get those three things right, and a budget laminate will serve you well for decades.
Putting It All Together
Budget laminate flooring in 2025 and 2026 is not a compromise, it is a strategic choice. The ideas in this post cover everything from the simplest and safest option, a light natural oak in the living room, to the more dramatic approaches like dark wide-plank or herringbone pattern that create a genuine design statement without requiring a design-level budget. Every one of these eleven ideas is achievable for most homeowners without stretching beyond what modern budget laminate can deliver.
The consistent thread across all of them is that the floor is the room’s foundation. Getting it right does not require spending more per square foot, it requires choosing the right color, the right finish, the right thickness for your subfloor condition, and the right installation approach for the room’s demands. When those decisions align, a floor that cost less than two dollars a square foot can genuinely look like it cost five times that much. That is what budget laminate done well actually delivers.


